Emily Griffis is a senior literature and creative writing major and writes DIYs for The Daily News. Her views do not necessarily agree with those of the newspaper or The Daily. Write to Emily at epgriffis@bsu.edu.
At the end of this month, take some time out of your day to make your own wizard wand to celebrate Harry Potter’s 35th birthday and J.K. Rowling’s 50th birthday, both on July 31. When they’re finished, swish them around and practice your spells while you wait on your Hogwarts acceptance letter to arrive. We all know the owl just got lost.
What you'll need:
- Wooden dowel rods or chopsticks
- Glue gun
- Glue sticks
- Paint
- Paintbrush
- Modge Podge
Step 1:
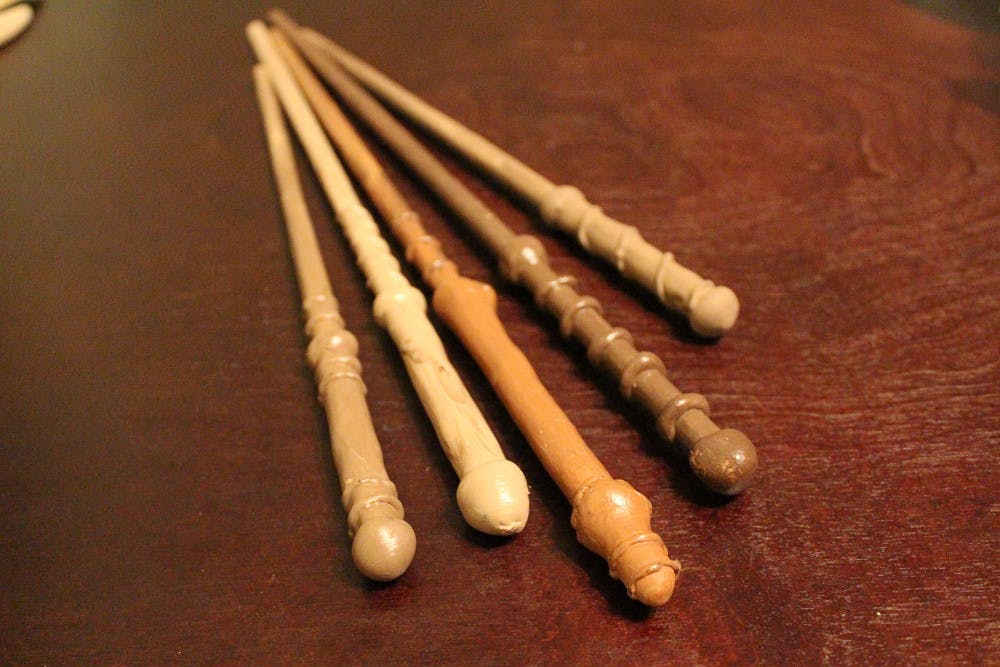
The wood you use for your wand needs to come to a gradual, rounded point at the end so it looks realistic. The best thing to use is chopsticks that you can pick up with Chinese take-out. Or, if you know someone that is handy with power tools, you can ask them to take a wooden dowel rod, anywhere from 12-15 inches long, and shape it into a wand for you. You can get more creative this way by adding dents or crooks in the wood.
Step 2:
Use a hot glue gun to make designs on your wand, careful not to burn your fingers. You can fashion handles, little knobs, spirals or anything you can imagine a wand would have. You’ll probably use large amounts of glue; I used almost three glue sticks per wand. If the glue isn’t cooperating, use the tip of your glue gun to guide it before it dries. Stick it in a cup right-side-up and allow it to dry for 20 minutes.
Step 3:
Paint your wand any color. I stuck with shades of brown because wands in the wizarding world are fashioned from different types of wood, and wouldn’t realistically be purple or green, etc. But your wand can be as unique as you want. I even mixed shades of brown together for more a rough and rustic look. Let your paint dry for 15-20 minutes. You might need to paint half, let it dry standing in your cup and then repeat the process with the other end.
Step 4:
This step is optional. I wanted to give my wand a glossy, polished look, so I painted on a layer of Modge Podge Gloss. This also protects the paint from chipping. You can use any brand of finish you want, but make sure it dries clear.
Read More

ICC: ‘Good trouble’: Hoosiers rally against Trump, honor late US Rep. John Lewis
By Indiana Capital Chronicle / 9 hours agoHundreds of people rallied outside the Indiana Statehouse on Thursday to protest President Donald Trump and pay tribute to U.S. Rep. John Lewis of Georgia.

PHOTOS: The 173rd Delaware County Fair
YesterdayThe 173rd Delaware County Fair is in full swing, bringing a week of rides, food, and hometown tradition to the Delaware County Fairgrounds.

IPR: Indiana will no longer move forward with its plan to reduce greenhouse gas emissions
By Indiana Public Radio / 2 days agoIndiana is no longer moving forward with its climate action plan.