|
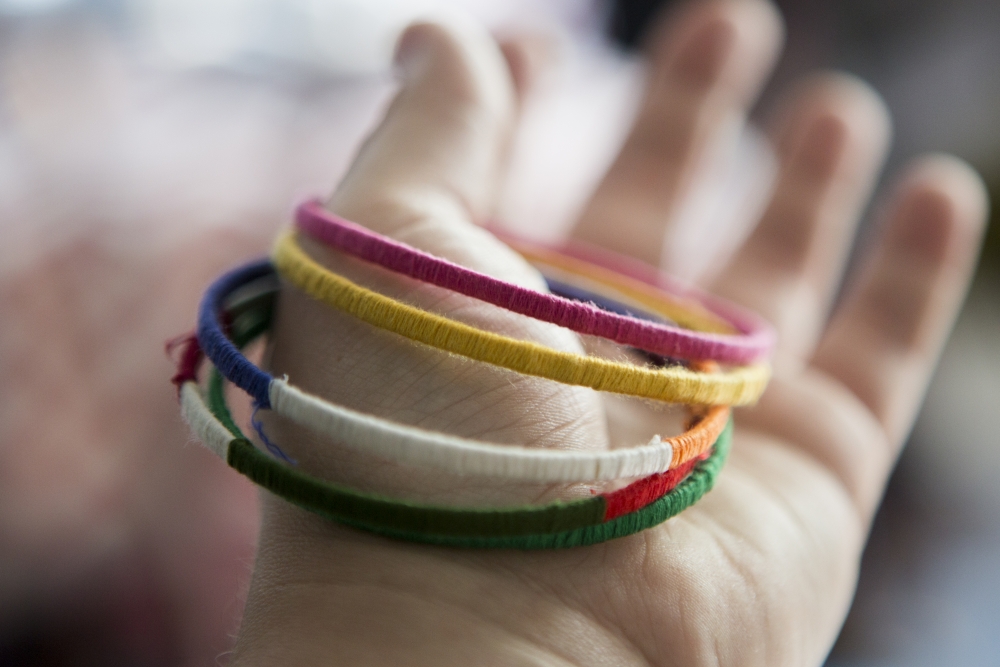
Bracelets are an effortless and classy way to jazz up any outfit. There are many ways to make bracelets reflect your style while still remaining on a budget. This tutorial will show you how to take simple bangle bracelets purchased from Wal-Mart and turn them into one-of-a-kind jewelry to match any outfit. |
|||||
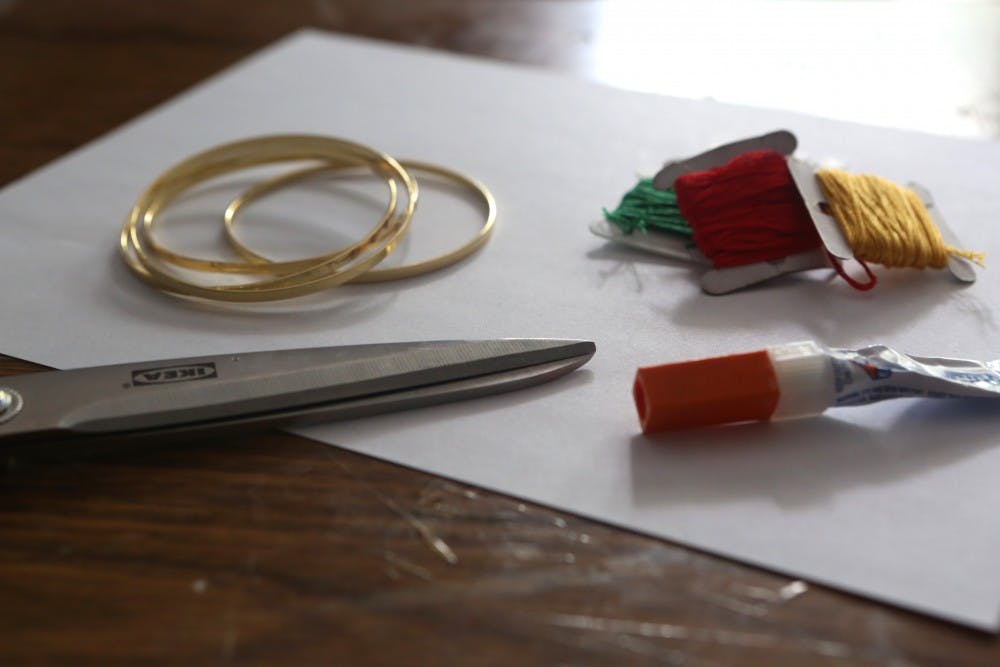
Materials: |
Bangle bracelets! | Embroidery floss! | Superglue! | Scissors! | Nail file! |
|
1 Pick out embroidery floss in any color of your choice, and cut off a piece as long as you feel comfortable with. Don’t worry about covering the entire thing; you can always add more. Tightly tie it off onto the bangle with a double knot. 2 Start wrapping the floss around the bangle. Go slow and make sure that you get the floss as close together as you can. Don’t let any of the bangle show through. 3 Every inch or so that you wrap, tie the embroidery floss off to secure it. I did this by looping the end of the floss through a loop I made on the bracelet. Pull the strand tight, tucking the knot on the underneath side of the bracelet. Also do this whenever you reach the end of your strand. (If you need to add more of the same color, just tie on another strand of the same color. But you can also add more colors by tying the end of one strand to a different color. Continue wrapping until it’s covered.) 4 When you’re done with the bracelet, put a few drops of super glue on the knots you made. This will give the bracelet stability and keep the thread on the bracelet from unraveling. Cut off the extra thread and use a fingernail file to smooth some rough points made by the glue. Pro Tip: If you get super glue on your fingers, you can use fingernail polish remover to get it off. |
|||||
Read More

PHOTOS: The 173rd Delaware County Fair
3 hours agoThe 173rd Delaware County Fair is in full swing, bringing a week of rides, food, and hometown tradition to the Delaware County Fairgrounds.

IPR: Indiana will no longer move forward with its plan to reduce greenhouse gas emissions
By Indiana Public Radio / YesterdayIndiana is no longer moving forward with its climate action plan.

Muncie Ironman participant dies following race
By Staff Reports / 2 days agoFollowing Muncie's Ironman 70.3 triathlon July 12, a race participant has passed away, according to a post made by the race's official Facebook page July 15.