|
Put down that gift bag and tissue paper! It has no place here. Don’t know how to wrap a gift, you say? Well with this DIY and a bit of practice you soon will. It’s a very handy skill, and one that will make your gift recipient super impressed. |
|||||
Materials: |
|||||
| Wrapping Paper | Scissors | Tape | Something to Wrap | ||
|
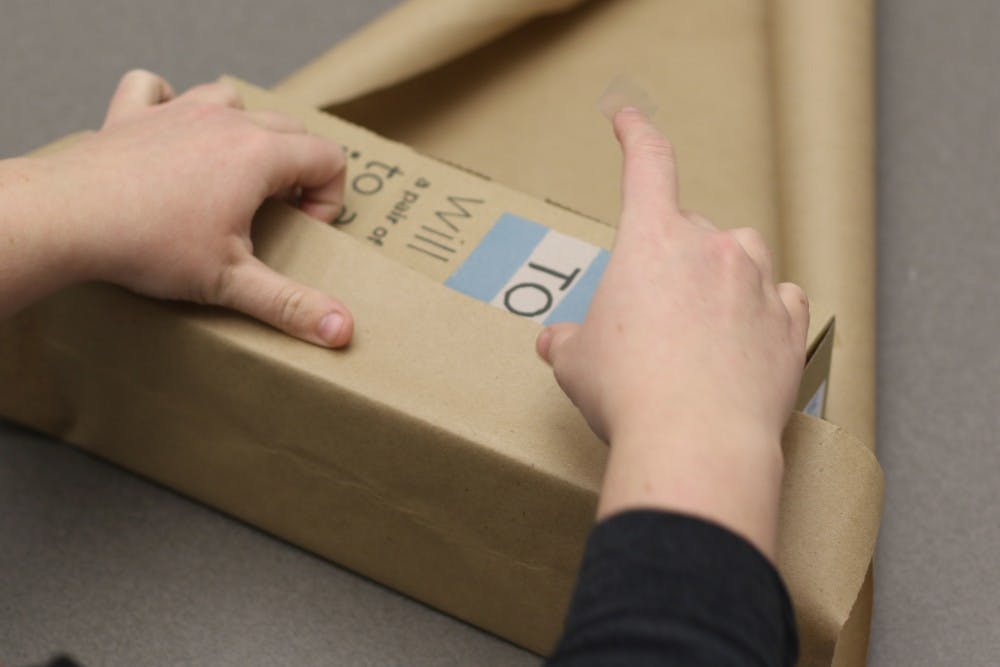
1 Wrapping paper is prevalent and comes in a verity of designs. It can also get quite expensive, so get creative. Use newspaper (like the fancy design on the other side of the page), an old poster or wrapping paper from another gift. While the stuff you can buy in stores is pretty, you’ll find up cycled paper makes your gifts really pop. My favorite wrapping paper is postal paper. You can get it at the dollar store and it will allow you to wrap a ton of gifts with it. You can dress it up to fit any occasion. 2 If possible, put the thing you’re wrapping in a box. This will be much easier on you than having to wrap something loose. It’s not impossible but much more difficult. I will usually check out stores at the end of the Christmas season for garment boxes that are on sale. 3 Have a large surface to work on (I usually do this on the floor). Roll out your paper, placing your box on it to gauge the amount of paper you will need. Make sure that you have enough to cover around the box and the sides. I always over shoot on this. It’s easier to take off than it is to add. 4 Cut your paper. You can buy special tolls for this to get a nice, clean cut. However you can get the same effect with a nice sharp pair of scissors. Place the flat part of the scissors on the surface that you’re working on, your blades a part a little bit. Then drag the scissors along the paper, letting the scissors does the cutting for you. Wrapping paper is thin enough to be cut like this, so it should work ok. 5 Tape one of the ends of the paper to the box. Some people skip this step but I like having nice tight wrapping, so I go for it. Wrap the paper around the box, securing the other end in place. The tape should show, but that’s ok. 6 Lay your box flat on the table. Smooth the top edge of your paper that’s sticking out down along the end of the box. You should create two flaps that are in the shape of triangles when you do this. Using your fingers pinch those edges to make them a sharp crease, making another sharp crease where the box and the paper meet. Do this with both sides. |
|||||
Read More

Tagayi to Represent France at U19 Tournament Before Joining Ball State
By Staff Reports / 6 days agoBefore making her debut in the Mid-American Conference, incoming Ball State women's basketball player Aniss Tagayi will compete for her home country as part of the French national team in the U19 competition.

Prairie Creek Reservoir beach cleared for reopening
By Staff Reports / July 3, 2025The City of Muncie announced the reopening of Prairie Creek Reservoir's beach via a press release July 3, successfully passing its water quality tests.
Former Ball State Mens Tennis member Gene Orlando set to coach team
By Staff Reports / June 30, 2025Former Ball State Men's Tennis Hall of Famer Gene Orlando has been named the new head coach of the team, according to Ball State Athletics, following the departure of long-time Head Coach Bill Richards, announced last week.