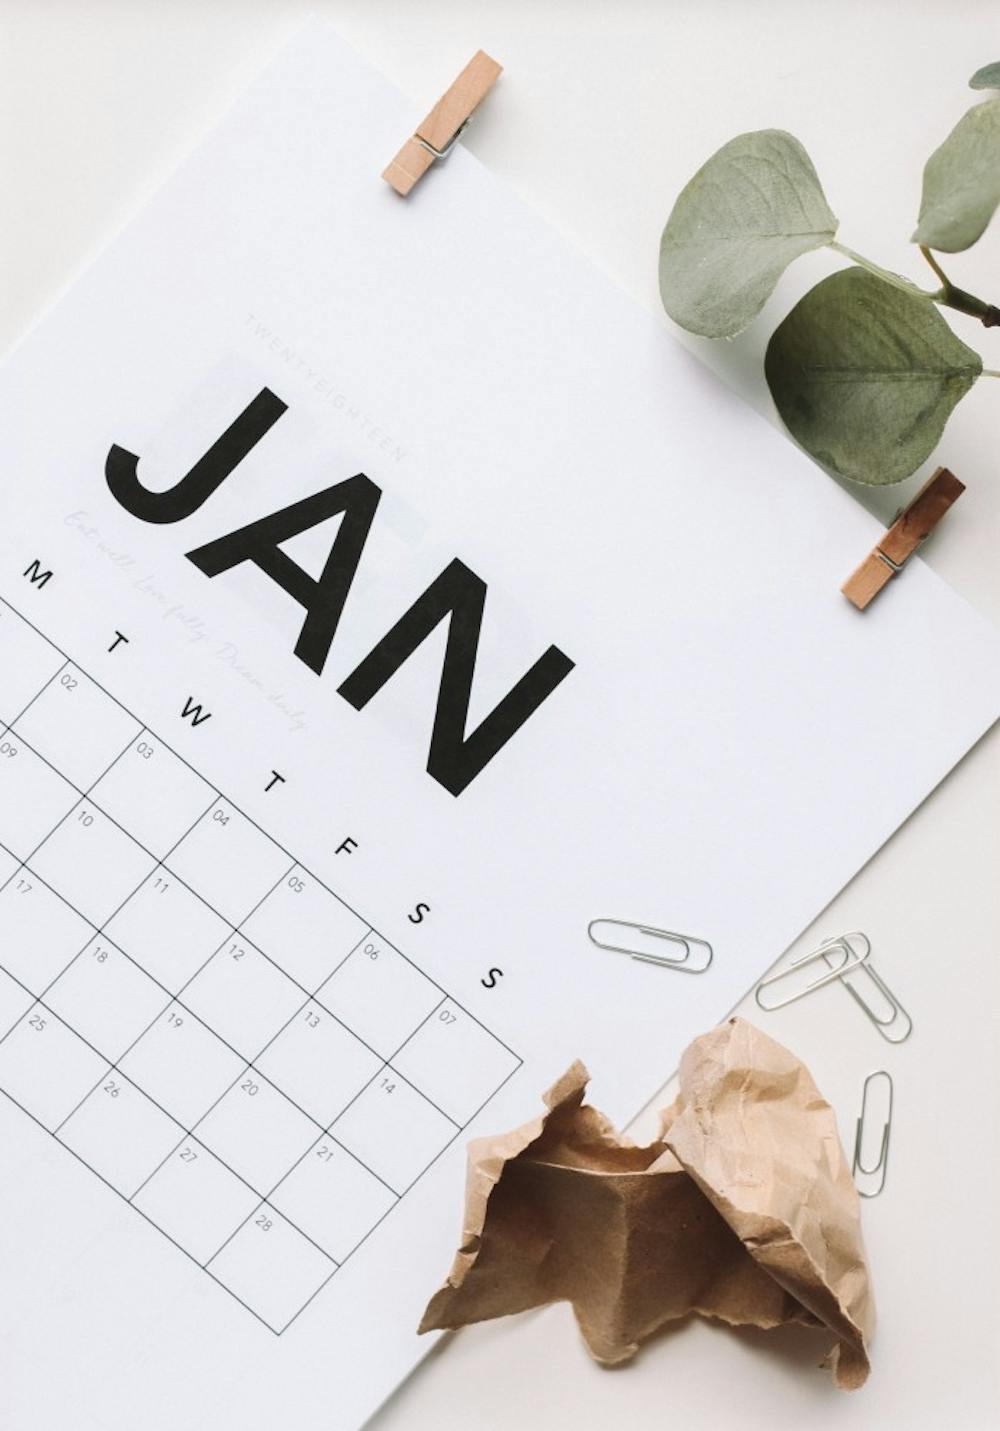
Sometimes it can be hard to part with a wall calendar, especially if it has the perfect theme and the perfect pictures.
Unfortunately, we all know we have to put up new ones after the clock strikes midnight Jan. 1.
If you are having trouble parting with your old organizer and you need some inspiration, here are two ideas for do-it-yourself calendars.
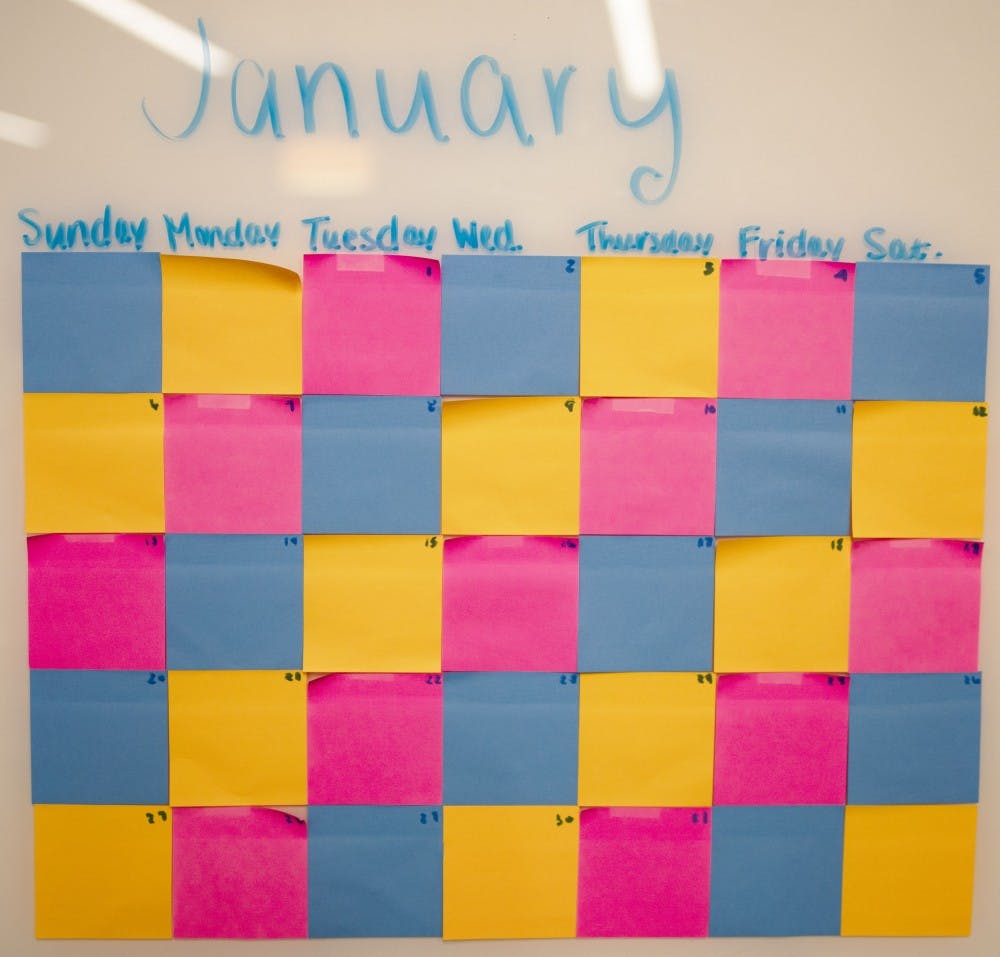
Post-It Note Wall Calendar
What you need:
- 35 Post-It Notes of whatever color you choose
- Tape
- Decorative tape
- Colored paper
- Markers
Directions:
- Find a clear spot on your wall big enough to fit a calendar.
- Stick the 35 Post-It Notes to the wall in five rows of seven post-it notes each with a ¼ inch in between each one and 1 inch between each row.
- Tape each Post-It Note at the top and bottom, so they won’t fall off half-way through the month.
- Figure out which day of the week the month starts on and then number each one. For example, January started on Tuesday and has 31 days.
- Cut down a piece of colored paper to the desired shape and size for the title of your monthly calendar.
- Decorate the calendar with decorative tape or other stickers that fit your theme.
- Use your calendar to help keep your month organized.
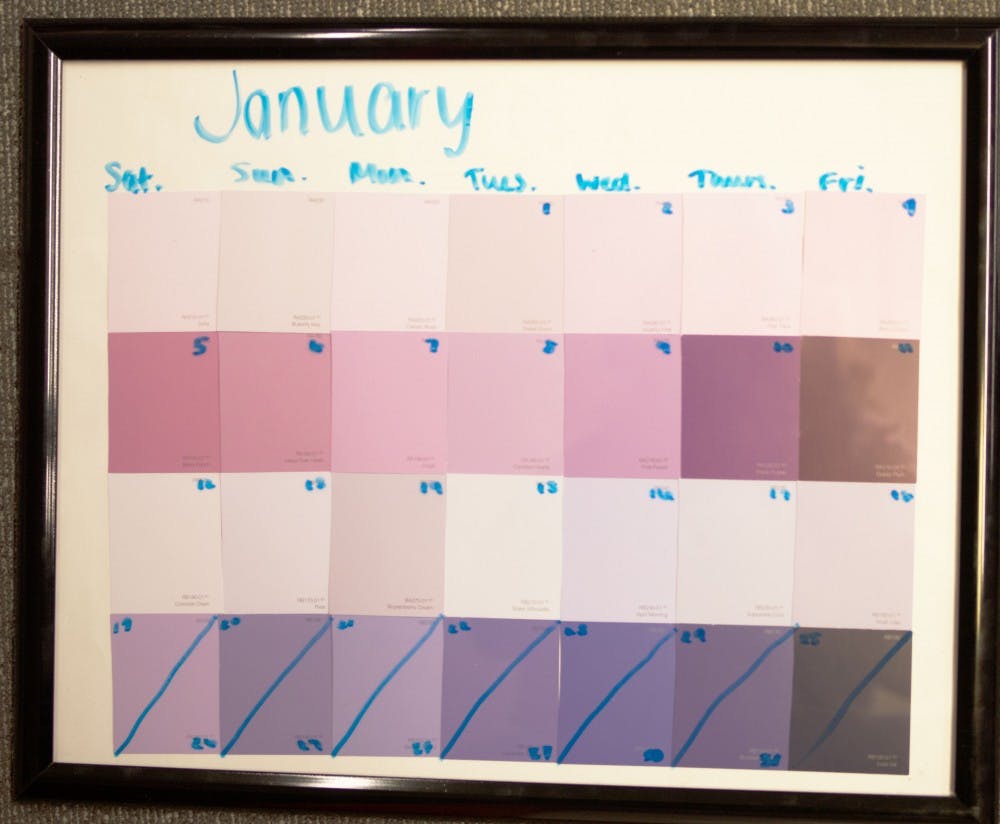
Picture Frame Calendar
What you need:
- 35 individual paint swatches or seven paint swatches with at least five colors on them
- A picture frame, recommended 11 by 14 inches
- Colored dry erase markers
- Tissues
Directions:
- Open the back of the picture frame and take out everything except for the glass.
- Take the display photo from the frame and turn it face down on the floor, so the white side is face up.
- Take the 35 paint swatches, or seven strips, and line them up on the white paper in five rows of seven, or just in one row with the strips.
- Leave about 1 ½ inches from the top of the white paper, so you can write the title of the month at the top.
- Once you have placed all of the paint swatches where you want them, lift all of them individually and tape them down to the white paper.
- After you have everything taped down, put the paper back in the picture frame with the paint swatches facing out through the glass.
- Put the back on the picture frame and close it.
- Turn the picture frame over and figure out what day the month starts on. For example, January started on Tuesday.
- Label all of the days of the month with a dry erase marker of your choosing. For example, January has 31 days.
- Put the month at the top of the calendar, the year and anything else you want to add
- Hang the picture frame on your wall or prop it on your desk.
- Use the calendar to organize your month.
Read More

PHOTOS: Fourth of July 2025
By Staff Reports / 13 hours agoIndependence day in Muncie featured celebratory events at Minnetrista Museum and Gardens and Muncie Central Highschool.

Ball State adjusts 51 degree programs amid statewide enrollment mandate
By Trinity Rea / YesterdayIn a statement to The Ball State Daily News, the university says its academic changes reflect long-standing internal planning, not just compliance with new state requirements.
IPR: Trump administration withholds over $100 million in education funding from Indiana schools
By Indiana Public Radio / YesterdayThe Trump administration told states this week that it won’t be dispersing over $6 billion in federal education grants, according to reporting from NPR.