|
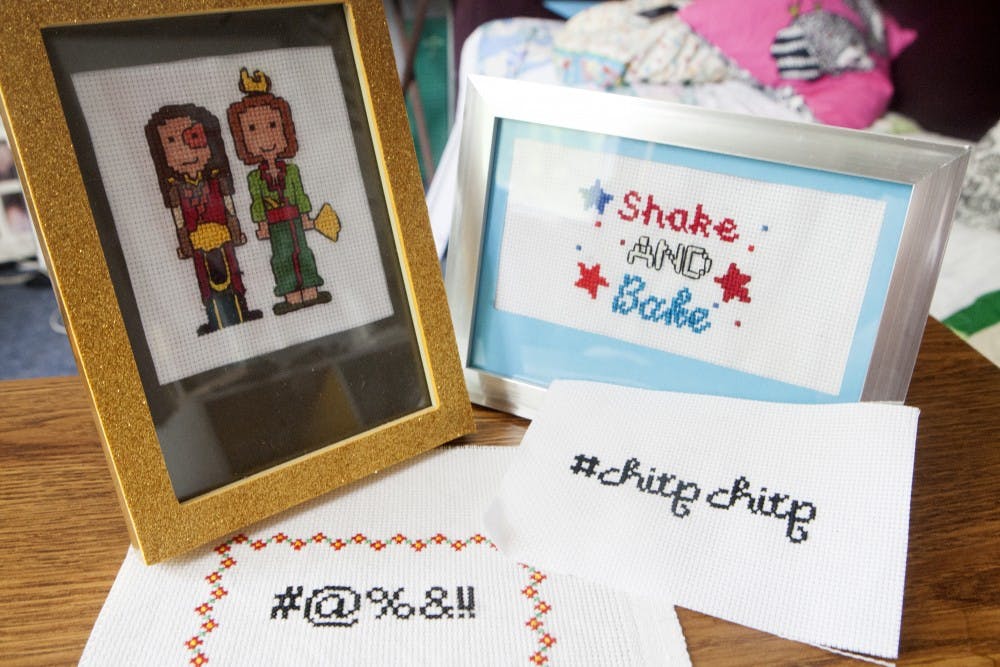
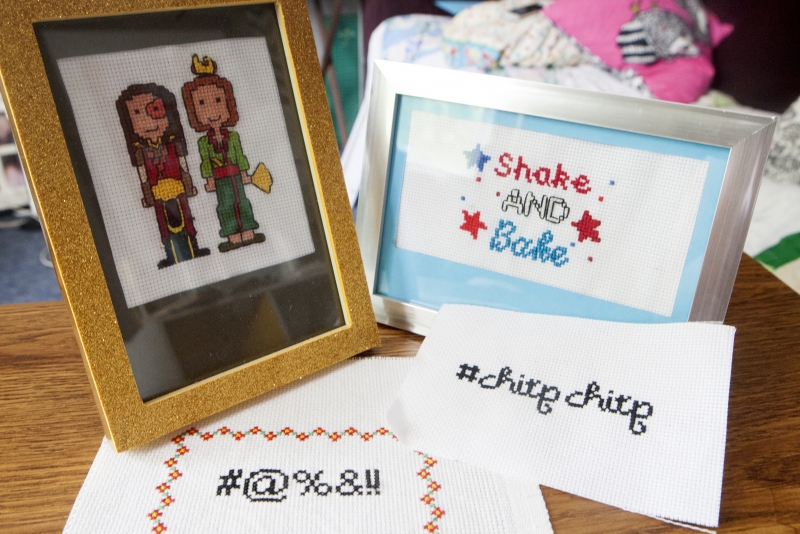
| Cross-stitch creations sit on a table. DN PHOTOS JORDAN HUFFER |
Jordan Huffer is a junior photojournalism major and writes ‘Born in a Ball Jar’ for The Daily News. Her views do not necessarily agree with those of the newspaper. Write to Jordan at jahuffer@bsu.edu.
What you need:
|
Cross-stitches make most people think of decorations at a grandma’s house, and I’ll be the first to admit that most of the creations at the craft store are just that. However, with a little bit of knowledge and some patience, you can make your own pattern that can be a bit more of your style and have a chance to make some original decorations and gifts.
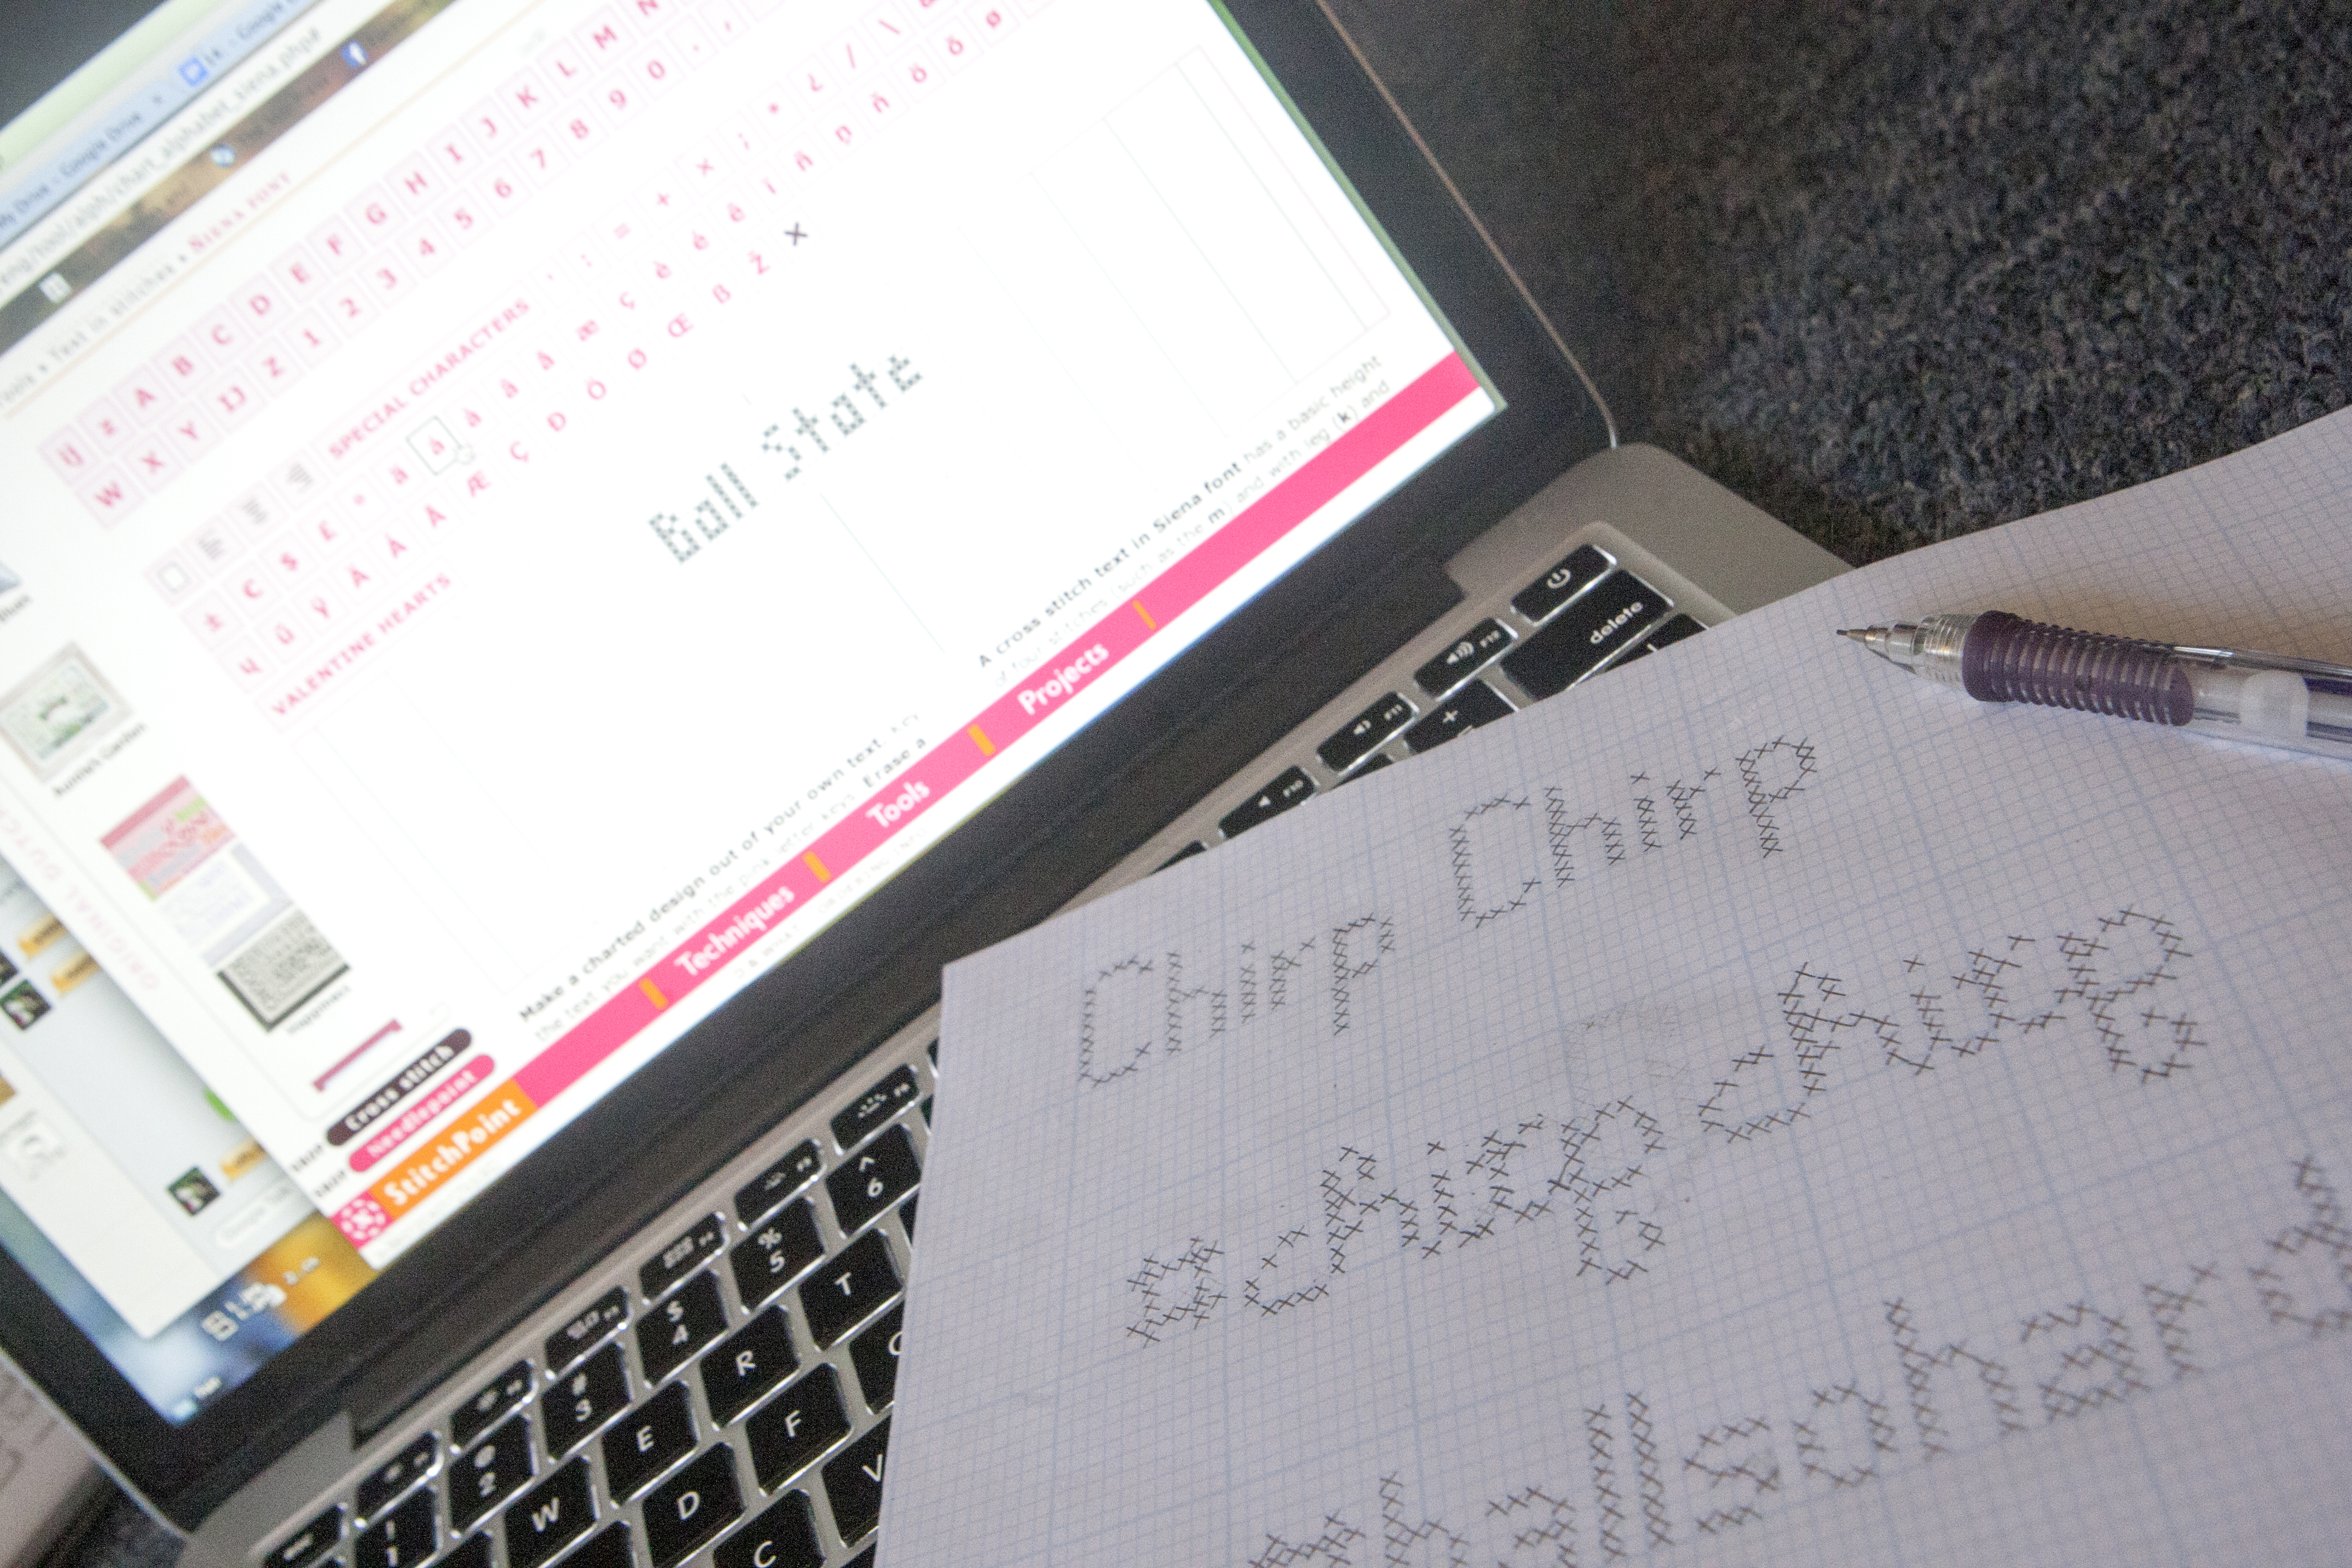
1. The pattern creation is the most important part of the entire process. If you have a quality pattern, it’s going to make everything much easier. Use graph paper to help you get clear lines and shapes. Fine grid works better, but large grid will work.
There is a wealth of pre-made patterns that can be found online. You also can use a generator to turn a photo into a pattern. Some will give you the color codes for the thread you need.
For beginners, I recommend doing some words. This will help you get the idea of basic technique while letting you make something really cool.
 2. Cross-stitch cloth is actually a series of fibers that are placed into a grid. The best way to think of it is that the holes are the intersections of the squares of the grids.
The thread comes in what is called skeins and comes in a variety of colors. Each color will have a number that is assigned to it. I would advise that you transfer the thread to plastic cards that are sold near the thread. This way, you can write down the number that is associated with that color. This is important if you need to go back and get more of a certain color.

The strands of threads are a grouping of six smaller threads that can be pulled apart. Some patterns will call for different groupings of thread. For most things, I will work with three strands.
Needles are the last part of the equation. They make special cross-stitch needles that are short with large eyes and blunt tips. They will definitely work, and I always have some on hand. However, I like to use sharper, longer all-purpose needles.
3. To make the pattern come to life, start making little crosses within the grid of the fabric. Ideally, you should have all the stitches going the same way for the bottom layer, then put the top layer on top of those.
 4. Follow the pattern. Wherever there is a cross in your pattern, place that in your cloth. Take it slow and accept that you might make mistakes.
If you do make a wrong stitch, you can just remove it by unthreading the needle and using the tip of it to pull out the incorrect stitch.
5. When you’re done with the pattern, wash it with hand soap or shampoo and let it dry flat. I usually iron mine with either an iron or a hair straightener.
6. You can use different colors and types of threads to make different patterns and designs. Since you’re making your own pattern, you can add or remove anything.
To give the piece a finished look, mount it. I get frames at the Dollar Store and then I will make mats out of scrap card stock I have. Just tape the piece to the mat and place it in the frame.
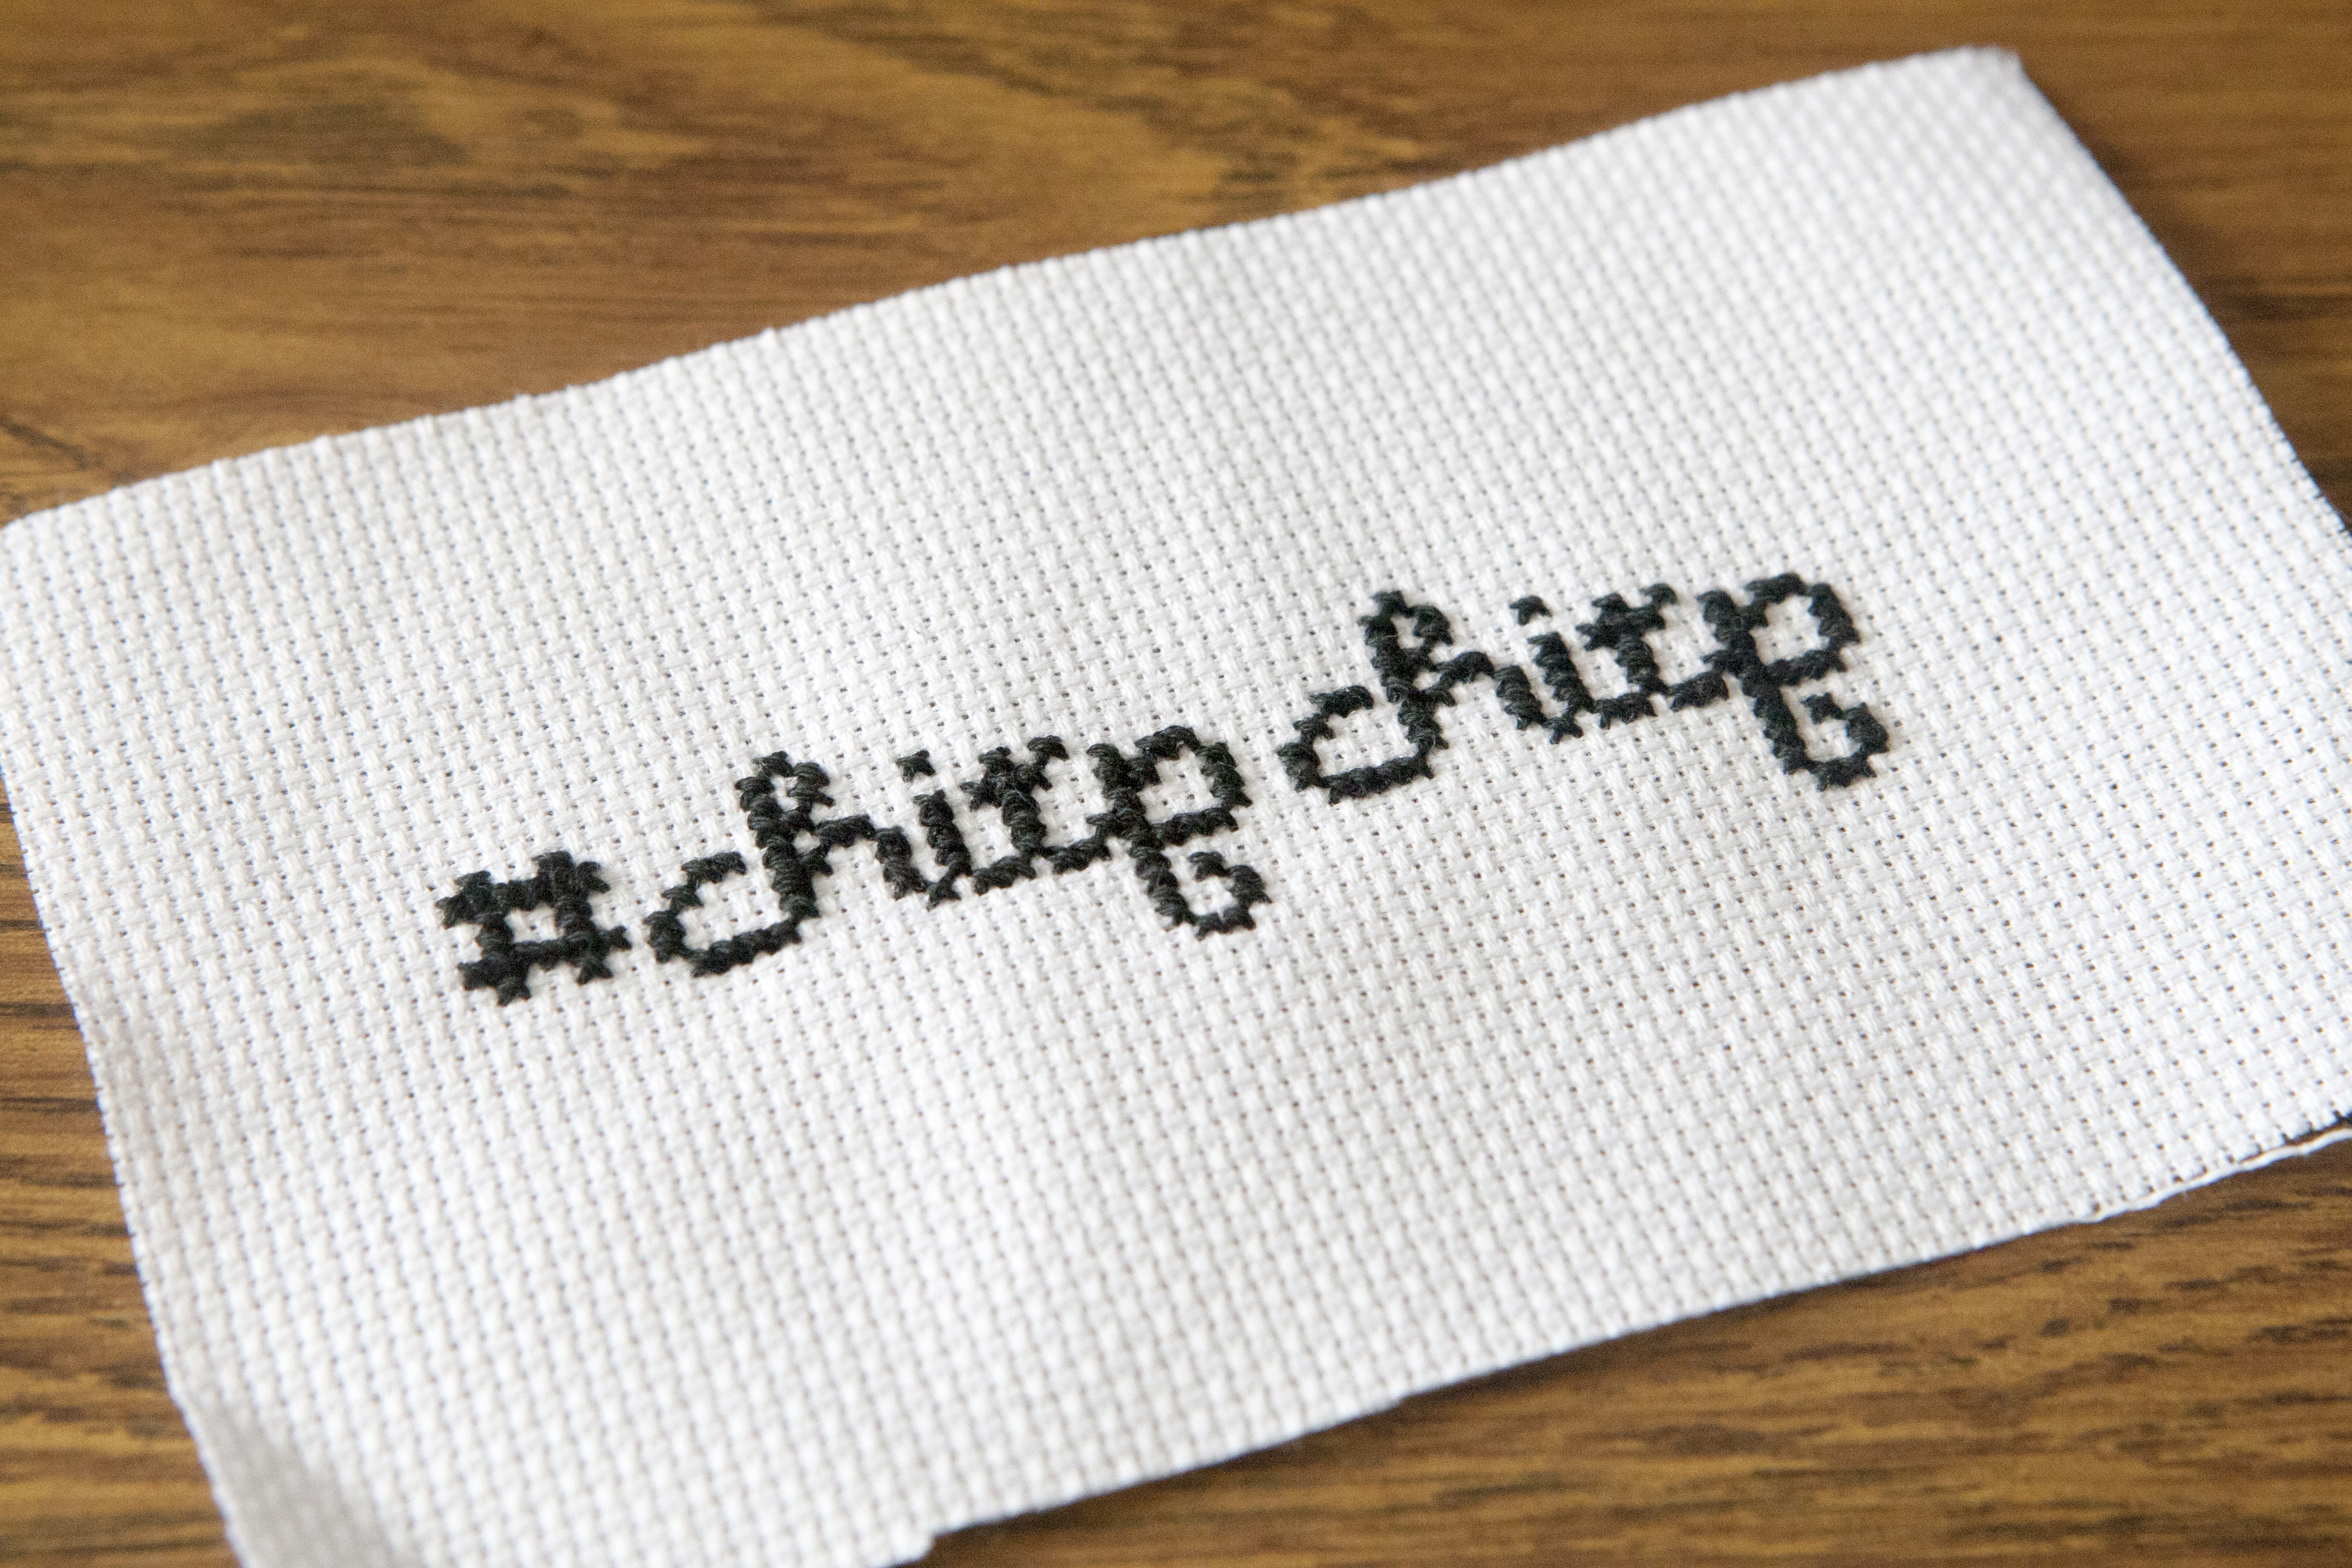 7. I love to make curse words, but you can make anything that you like. A cool thing to do is to make a pixelated version of your favorite couple for a gift. Even a saying that you like can be turned into a cool decoration.
Read More

Tagayi to Represent France at U19 Tournament Before Joining Ball State
By Staff Reports / 14 hours agoBefore making her debut in the Mid-American Conference, incoming Ball State women's basketball player Aniss Tagayi will compete for her home country as part of the French national team in the U19 competition.

IPR: Ball State Village hotel project granted tax abatement for 10 years
By Indiana Public Radio / 23 hours agoThe new hotel being built next to Ball State University in the Village has been given a tax abatement for the next decade. But as IPR’s Stephanie Wiechmann reports, an agreement with the developer means Muncie coffers will see some money from the project in that time.

Physical Fitness and Wellness courses will soon no longer be part of Ball State’s core curriculum
By Daniel Kehn / YesterdayIn the fall of 2026, Ball State University will implement a new core curriculum with a main focus on reducing the number of credit hours closer to the state minimum.