Emily Griffis is a senior literature and creative writing major and writes DIYs for The Daily News. Her views do not necessarily agree with those of the newspaper or The Daily. Write to Emily at epgriffis@bsu.edu.
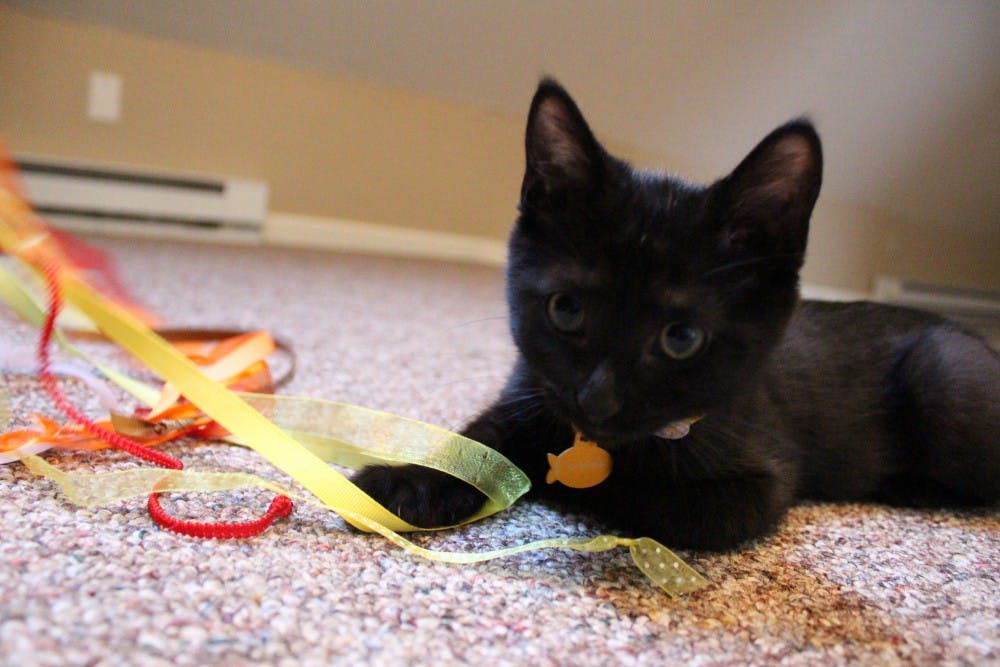
Cats are always looking for new things to play with, but toys can be pretty expensive. You can create this DIY cat toy with cheap supplies you might already have laying around, and your cats will love it.
What you’ll need:
- Wooden dowel rod
- Baker’s twine
- Ribbons
- Glue gun
- Bells (optional)
Step 1:
Gather all of your supplies. Wooden dowel rods can be bought in a package of about five in craft stores like Hobby Lobby, or individually in hardware stores. You’ll need one about a foot long. All other supplies can be found in craft stores, or even department stores like Wal-Mart.
Step 2:
Wrap your baker's twine around the dowel rod, securing it with your hot glue gun. Don’t use too much glue, because it could be dangerous to your kitty if they chew on it. I’ve found that you only need to use a minimal amount of glue to secure the ends, as long as you wrap the twine tight enough in the middle.
Step 3:
When you get to the end of the dowel rod, don’t cut your twine off. Instead, wrap it down the dowel rod about an inch in the direction you came. Tie a double knot, securing it with glue so it doesn’t slip. Do not cut the twine yet, you’ll need the extra in later steps.
Step 4:
Decide which ribbons you want to use. You can color coordinate them with the color of your baker’s twine or just use random colors for a fun look. I cut mine about 15 inches long, but this is up to personal preference.
Step 5:
The baker’s twine that you didn’t cut in step three will be used to attach your ribbons. Make it as long or as short as you want; mine is about eight inches (again, don’t cut it off). Group your ribbons together and fold over the ends in a bunch until you have a good grip on them. Place them at the length of baker’s twine you decided on, and use the extra twine to wrap around the bunched up ribbons, using glue to secure them together. I wrapped mine up and down twice, just to make sure none of the ribbons can get loose. When you’re finished, tie off your twine, using more glue to reinforce the knot, and cut the string.
Step 6:
Tie off the ends of your ribbons so they don’t fray, and you're done. If you decide to use bells, tie them into the end knots.
Read More
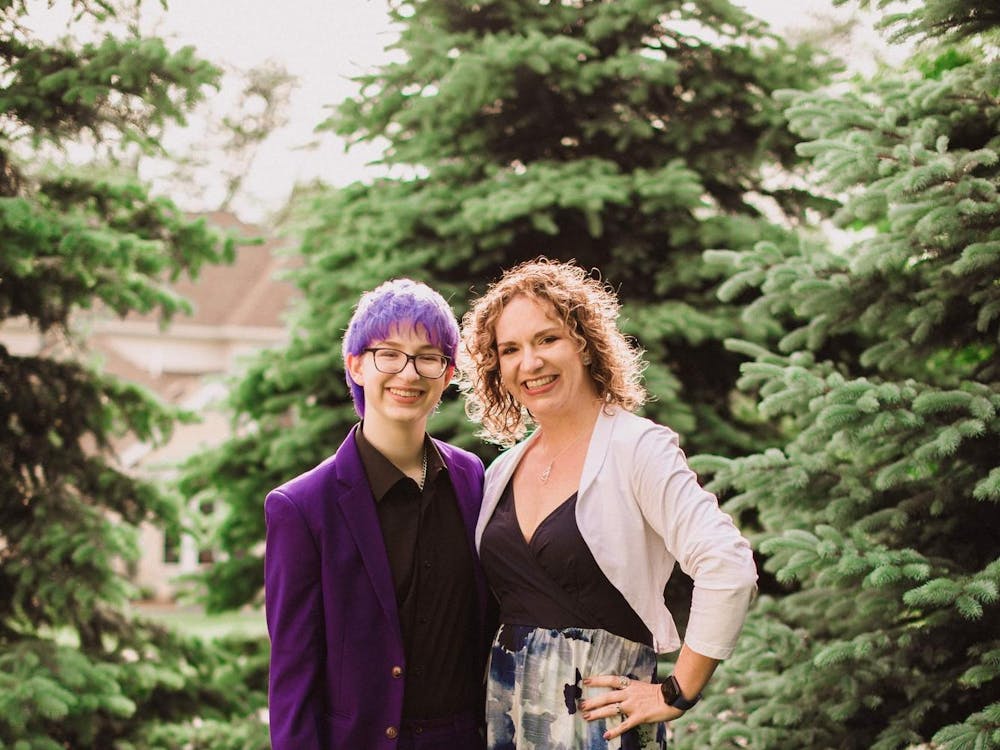
Indiana's Free Mom Hugs organization and Muncie Outreach discuss how LGBTQ+ groups help strengthen pride in local communities
By Zach Gonzalez / 8 hours agoA hug can communicate warmth and love without saying a word. For LGBTQ+ individuals rejected by family members, a hug from Free Mom Hugs staff resembles affection they may not receive from those of their own household.
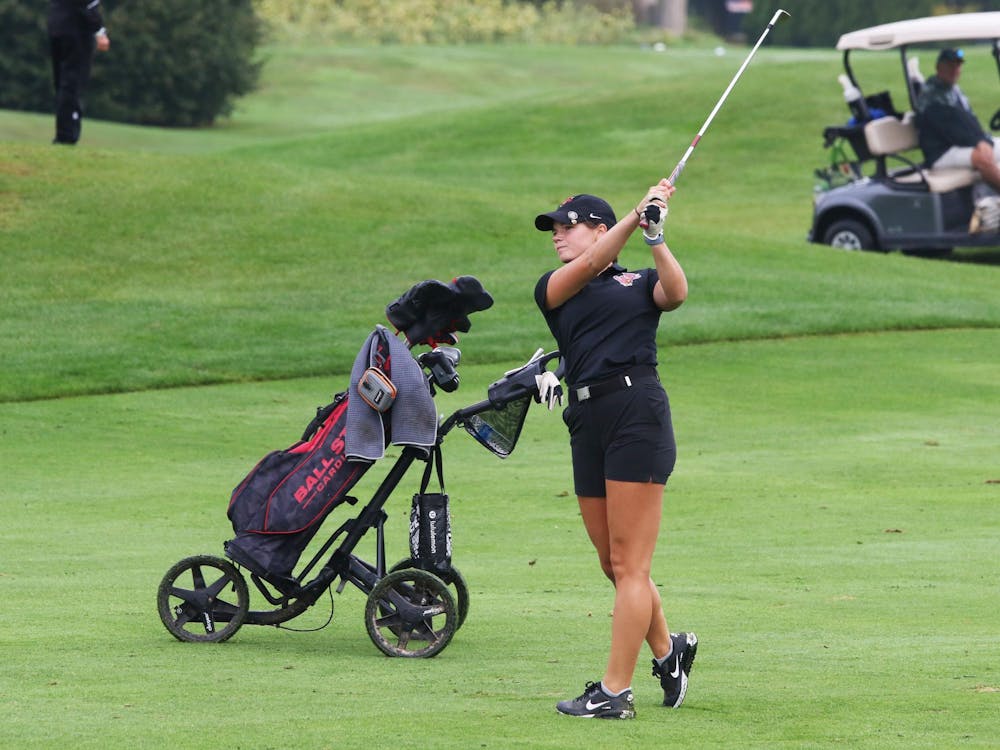
Third round rise leads Ball State women’s golf to 4th place finish at MAC Championship
By Nick Shelton / 20 hours agoThroughout a season that saw a number of ups and downs, from placing 14th in their season opener to placing 1st at the Brittany Kelly Classic two weeks later, the Cardinals continued to climb. Closing out their season at the Pinnacle Golf Club in Grove City, Ohio, Ball State’s young squad had a lot to prove.

Representation for all
By Jayden Vaughn / YesterdayThe LGBTQ+ community is finally getting the comprehensive on-screen representation that it deserves.