
|
| DIY artwork hangs on the wall after being finished with the steps. PHOTOS PROVIDED BY JORDAN HUFFER |
What you will need:
|
Jordan Huffer is a junior photojournalism major and writes ‘Born in a Ball Jar’ for The Daily News. Her views do not necessarily agree with those of the newspaper or The Daily. Write to Jordan at jahuffer@bsu.edu.
We all have quotes or song lyrics that inspire us, and we want to show them off. What better way to do this than by creating a custom artwork featuring the words we love?
This is an easy project that will have a big effect on your space and state of mind.
1. Plot your design.
The pack of letters I purchased came with both small and large letters, so I used both of them in my design to get the most I could out of the pack I bought. You might want to try different combinations and use your letters efficiently.
 
|
| Steps one and two |
2. Do a rough cut of your letters and put them on the board in the correct order. This is going to give you a good idea on where to put your marks.
3. Using a ruler, make marks and then lines to use as guides for where you want your letters to go. This will help you get them even.
 
|
| Steps three and four |
4. Put down the letters in the lines you just drew. I tried to make mine as centered as possible, but didn’t even get close. Still, I like the way that it flows. It helps to put a piece of wax paper over top of your letters and further smooth them down with a credit card. This will allow for maximum adhesion.
5. Get a bottle of acrylic paint in a complementary color. I would recommend getting a new bottle, as they are inexpensive and you will likely use it again. Drizzle the paint on the letters, then brush it on carefully.
 
|
| Steps five and six |
6. Continue until the entire surface, including the letters, is covered. Let dry.

|
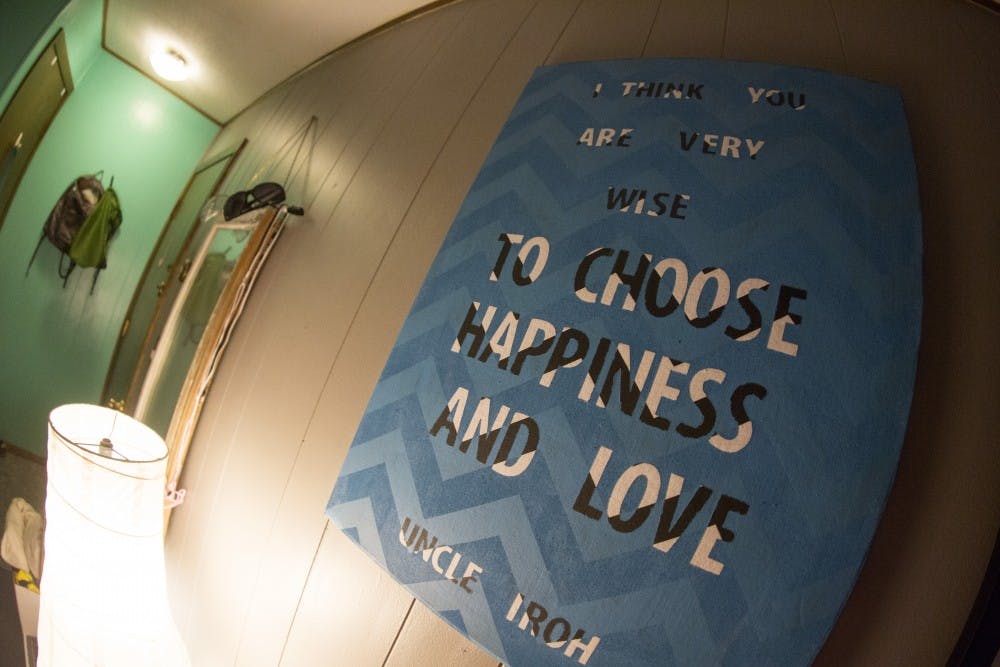
| Steps seven and finished product |
7. Once dry, start peeling the letters off the board. If you have a textured surface like I did you, will get a little bleed, but it’s nothing too noticeable. Then, display your custom artwork proudly.
Read More
Indiana's Free Mom Hugs organization and Muncie Outreach discuss how LGBTQ+ groups help strengthen pride in local communities
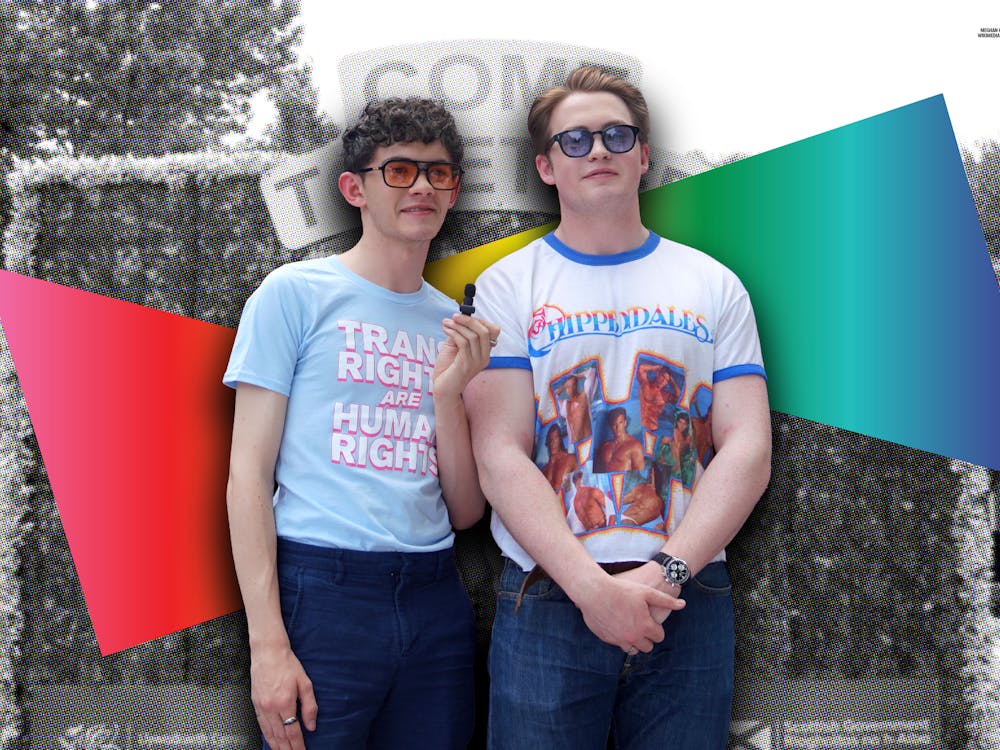
By Zach Gonzalez / 15 minutes agoA hug can communicate warmth and love without saying a word. For LGBTQ+ individuals rejected by family members, a hug from Free Mom Hugs staff resembles affection they may not receive from those of their own household.
Third round rise leads Ball State women’s golf to 4th place finish at MAC Championship
By Nick Shelton / 12 hours agoThroughout a season that saw a number of ups and downs, from placing 14th in their season opener to placing 1st at the Brittany Kelly Classic two weeks later, the Cardinals continued to climb. Closing out their season at the Pinnacle Golf Club in Grove City, Ohio, Ball State’s young squad had a lot to prove.
Representation for all
By Jayden Vaughn / YesterdayThe LGBTQ+ community is finally getting the comprehensive on-screen representation that it deserves.